Painting the Wall: Learn How to Paint Like a Pro
Painting your walls can completely transform the look and feel of a room. With the right preparation, tools, and technique, you don’t need to hire a professional to achieve a flawless finish. Below is a comprehensive step-by-step guide to help you paint like a pro.
Step 1: Gather Your Tools and Materials
Before you begin, make sure you have everything ready:
-
Paint (choose the right finish: matte, satin, semi-gloss, etc.)
-
Primer (especially for new walls, stains, or drastic color changes)
-
High-quality paint brushes and rollers
-
Painter’s tape (to protect trims and edges)
-
Drop cloths or plastic sheets (to cover floors and furniture)
-
Sandpaper and filler/putty knife (for smoothing walls)
-
Ladder or step stool
-
Paint tray and stir stick
Step 2: Prepare the Room
-
Clear the area: Move furniture out of the room if possible. Cover remaining items with plastic sheets.
-
Protect surfaces: Lay drop cloths on the floor and tape around trims, windows, switches, and outlets.
-
Remove fixtures: Take off switch plates, outlet covers, and light fittings for clean edges.
Step 3: Prep the Walls
-
Clean the surface: Wipe down the walls with a damp cloth to remove dust and dirt. For greasy spots (like kitchens), use mild soap and water.
-
Repair damage: Fill cracks, dents, or holes with wall filler. Once dry, sand the area smooth.
-
Smooth the surface: Lightly sand shiny paint so the new paint adheres better.
-
Prime if needed: Use primer if painting over dark colors, bare drywall, or stained areas. This ensures even coverage and vibrant color.
Step 4: Cutting In (Painting the Edges)
-
Dip an angled brush into the paint (only one-third of the bristles).
-
Paint a 2–3 inch border along ceilings, corners, and trims.
-
Work slowly and steadily to avoid drips.
-
This step creates a frame that makes rolling easier and neater.
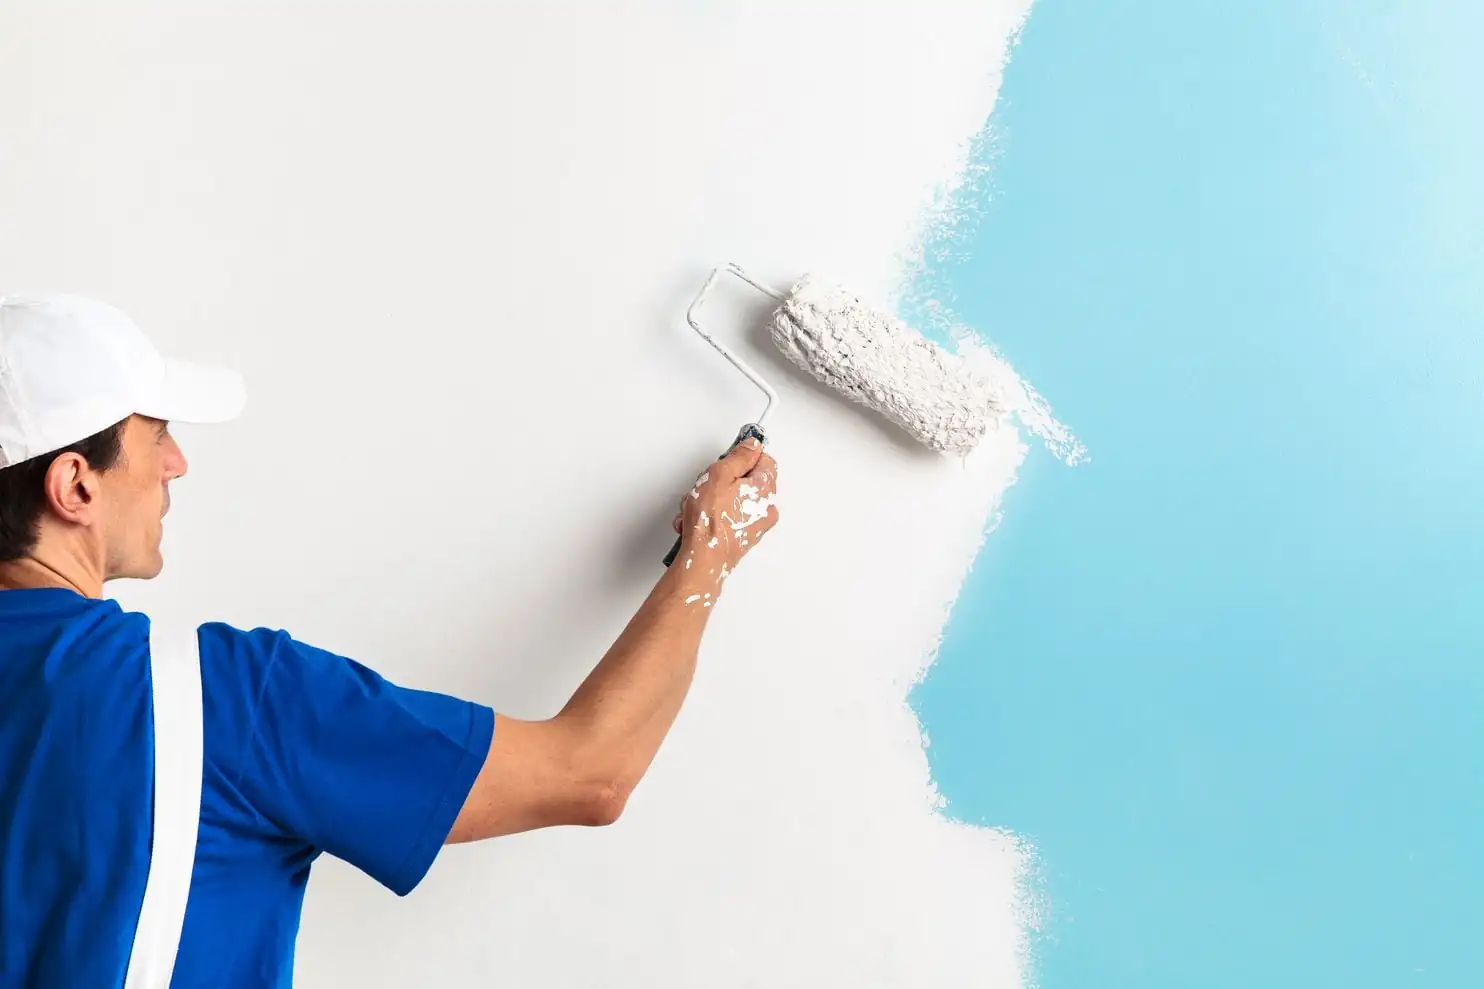
Step 5: Roll the Walls
-
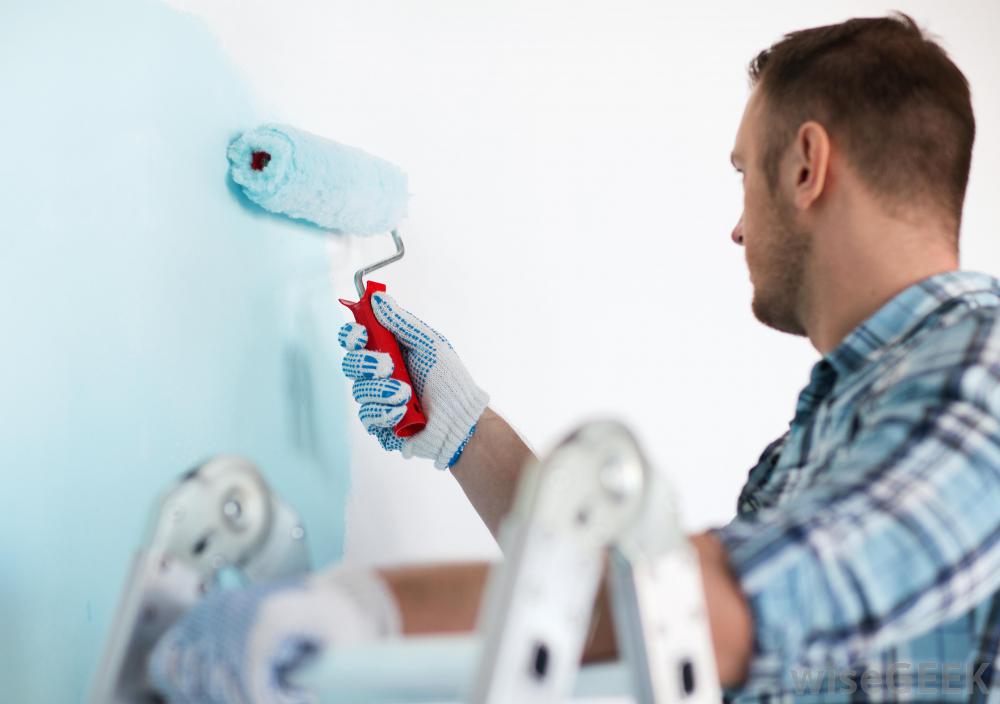
Pour paint into a tray and load the roller evenly.
-
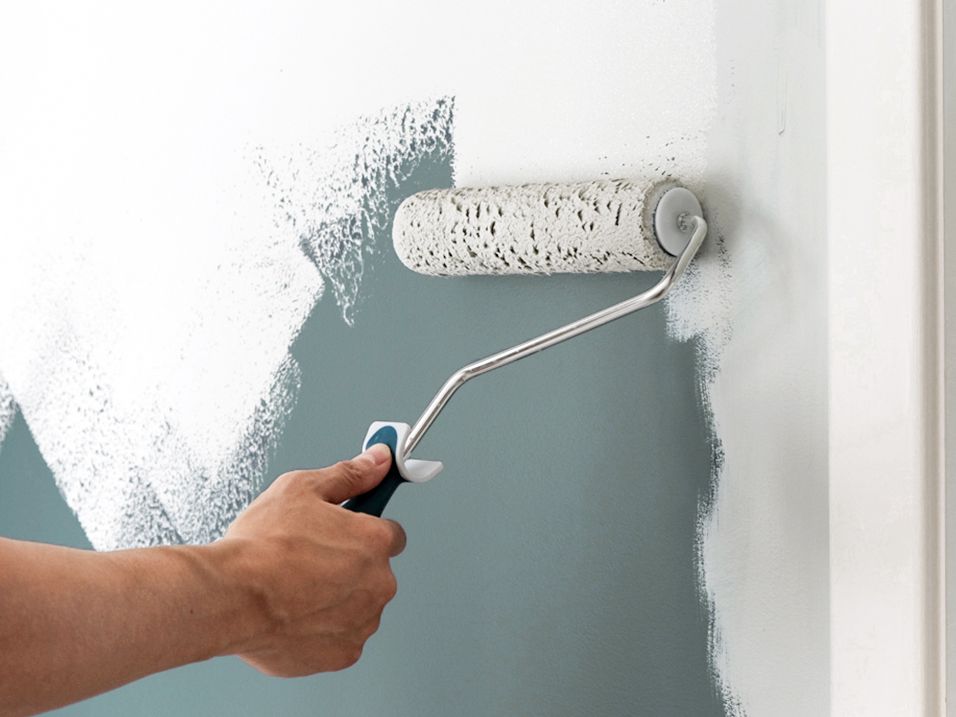
Start in the middle of the wall and roll in a “W” or “M” pattern, then fill in the gaps. This prevents streaks and spreads paint evenly.
-
Work in sections (about 3x3 feet at a time).
-
Maintain consistent pressure on the roller to avoid thick and thin spots.
Step 6: Apply Multiple Coats
-
Let the first coat dry completely (check drying time on the paint can).
-
Apply a second coat for richer, even coverage.
-
Dark or bold colors may need a third coat.
Step 7: Final Touches
-
Carefully remove painter’s tape while the paint is still slightly wet (to avoid peeling).
-
Reattach outlet covers, switch plates, and fixtures.
-
Touch up any missed spots with a small brush.
-
Clean your brushes and rollers immediately so they’re ready for future use.
Pro Tips for a Perfect Finish
-
Always mix all your paint cans together in one large bucket (“boxing”) to ensure consistent color throughout the room.
-
Don’t overload your brush or roller — excess paint causes drips.
-
Work in natural daylight if possible, so you can clearly see the coverage.
-
Keep a damp cloth handy for quick cleanups of drips or mistakes.
-
Be patient — rushing leads to uneven walls and messy edges.
Conclusion
Painting your walls like a pro is all about preparation, patience, and technique. With the right tools, careful prep work, and steady application, you can achieve a flawless, long-lasting finish that enhances your home’s style.


