How to Paint Your Interior (In a Logical Order)
Painting your home’s interior doesn’t have to be overwhelming. The secret is to follow a logical sequence so that each step builds on the last. This not only saves time but also ensures a cleaner, more professional result.
1. Prepare the Space
-
Move furniture out or cover it with plastic sheets.
-
Protect floors with drop cloths.
-
Remove outlet covers, switch plates, and light fixtures.
-
Tape off trim, baseboards, and windows with painter’s tape.
2. Prep the Walls and Surfaces
-
Wash walls to remove dust and grease.
-
Patch holes, cracks, or dents with filler and sand smooth.
-
Prime new drywall or dark-colored walls for even coverage.
3. Start with the Ceiling
-
Begin painting the ceiling first — any drips will be covered later when painting the walls.
-
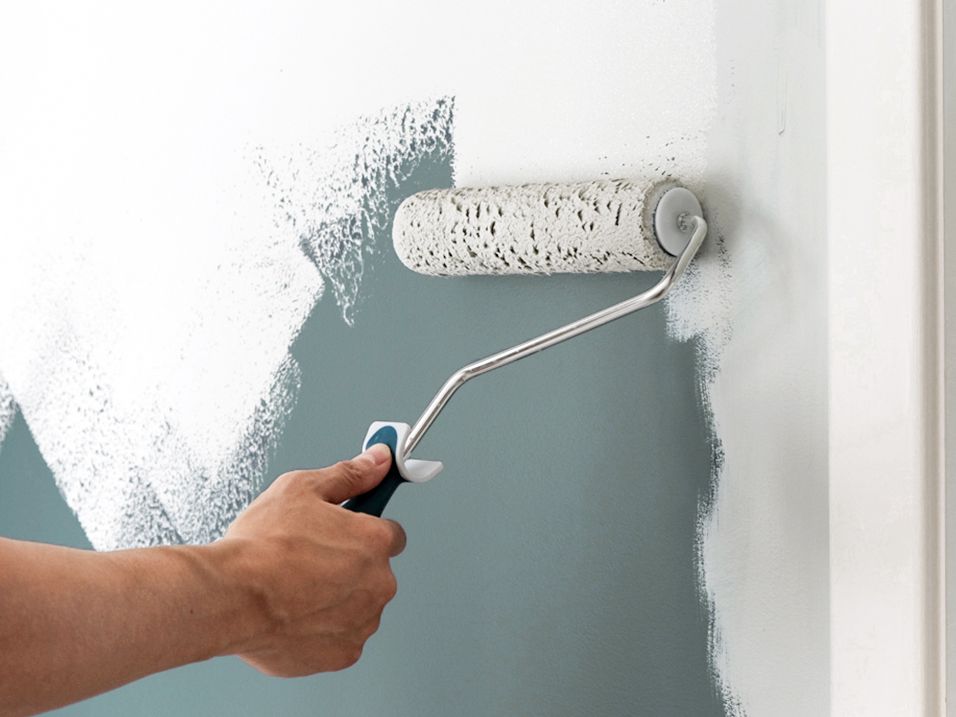
Use a roller with an extension pole and work in overlapping “W” patterns.
4. Paint the Walls
-
Cut in around edges, corners, and trim with a brush.
-
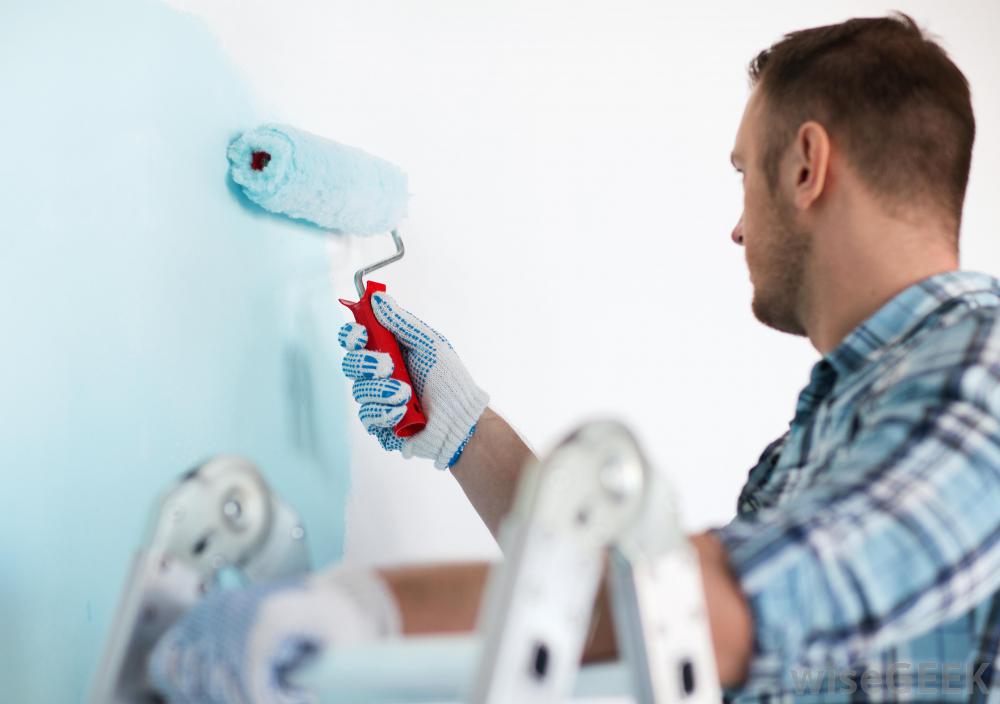
Fill in large areas with a roller, working in sections.
-
Allow the first coat to dry completely before applying a second coat.
5. Tackle Windows, Doors, and Trim
-
Paint window frames, door frames, baseboards, and crown molding after the walls.
-
Use a smaller brush for precision.
-
Gloss or semi-gloss paints work best for trim because they’re durable and easy to clean.
6. Finish with Touch-Ups
-
Check for uneven spots, streaks, or missed areas.
-
Use a small brush for corrections.
-
Remove painter’s tape carefully while the paint is slightly damp to prevent peeling.


